Wheel stops and parking blocks
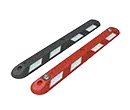
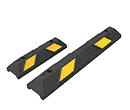
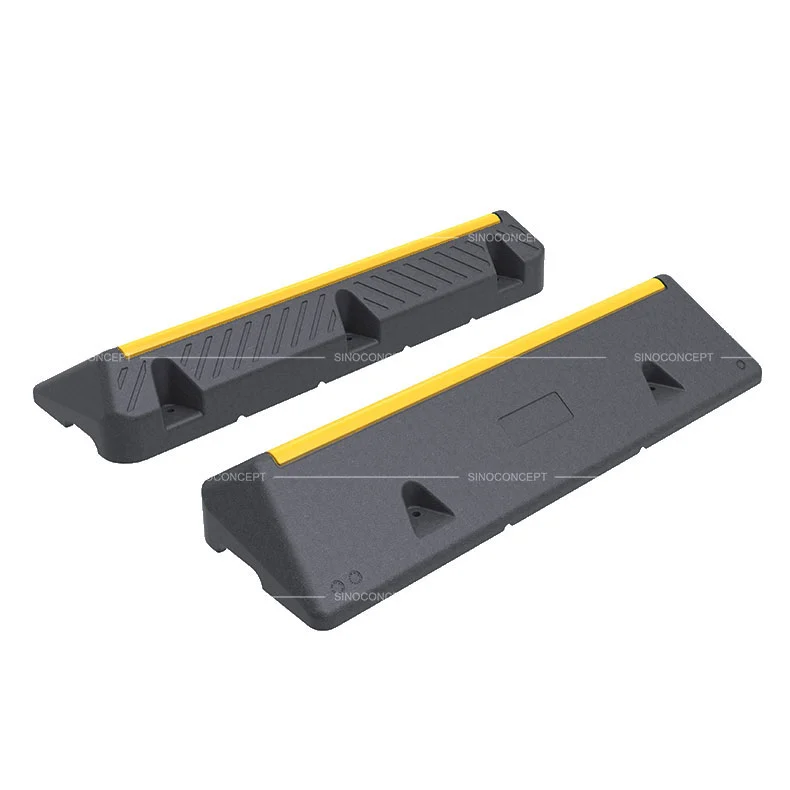
Wheel stops, also known as parking blocks, car stoppers, or parking curbs, are essential car park safety equipment for helping road users park their vehicles precisely. Our tyre stoppers are made of Plastic-Rubber composite to ensure durable and weatherproof parking blocks.
-
Wheel stop 550 mm
$9.10 -
Wheel stop 900 mm
$12.80 -
Wheel stop 1220 mm
$17.60 -
Wheel stop 1830 mm
$26.40 -
HGV wheel stops
$59.00
| Picture | Model | Recommended Use | Benefits | Ideal For |
|---|---|---|---|---|
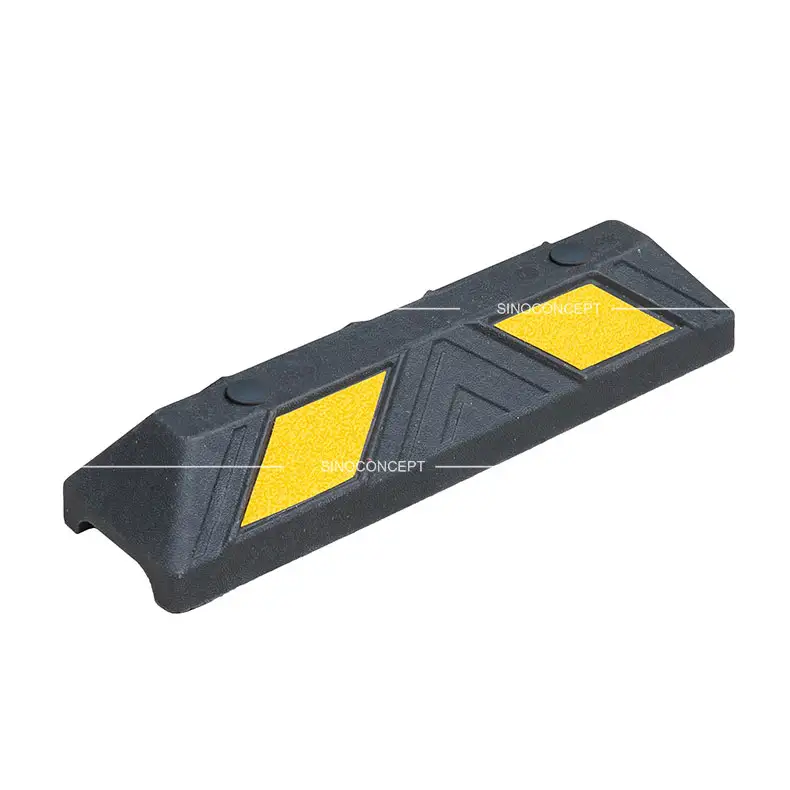
|
Wheel
Stop 550 mm |
Requires two units to block the wheels. Ideal for small private parking spaces or garages. | Compact size, perfect for confined spaces. | Residential garages, private driveways, narrow spaces. |
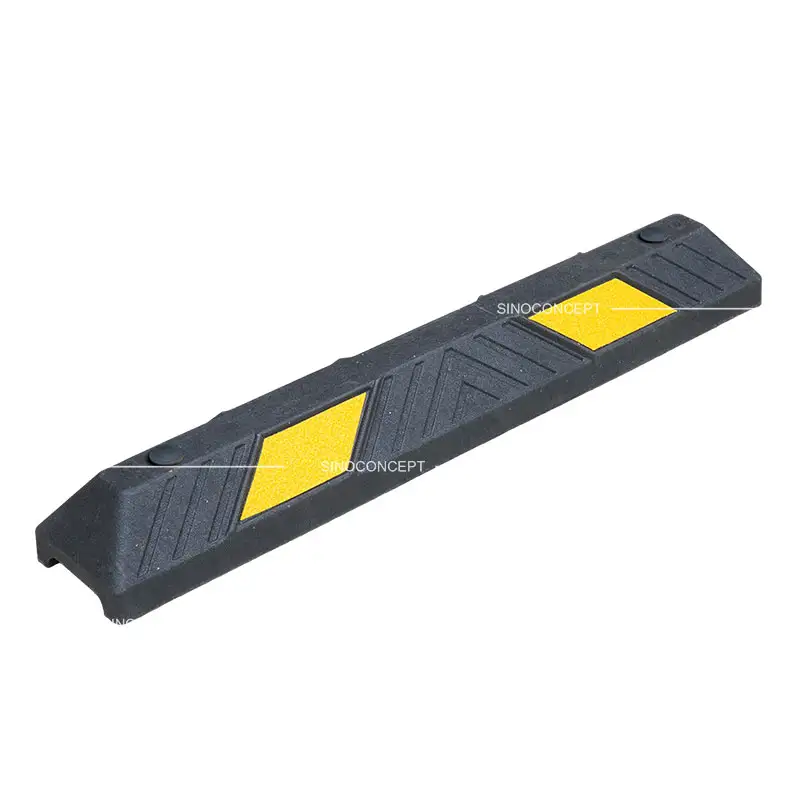
|
Wheel Stop 900 mm | Requires two units to block the wheels. Suitable for small business parking or restricted parking areas. | More visibility than 550 mm, durable. | Small business parking, restricted public parking, residential areas. |
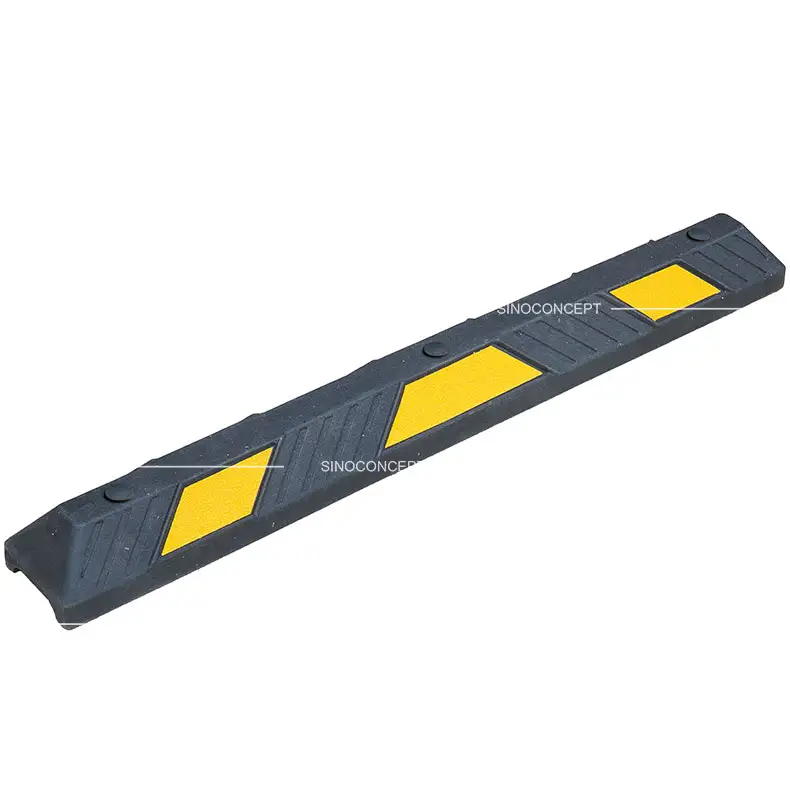
|
Wheel Stop 1220 mm |
Requires one unit to block the wheels. Ideal for medium-sized parking areas. Provides clear space delineation. | Wider stopping area, easy to install. | Commercial parking, retail parking areas. |
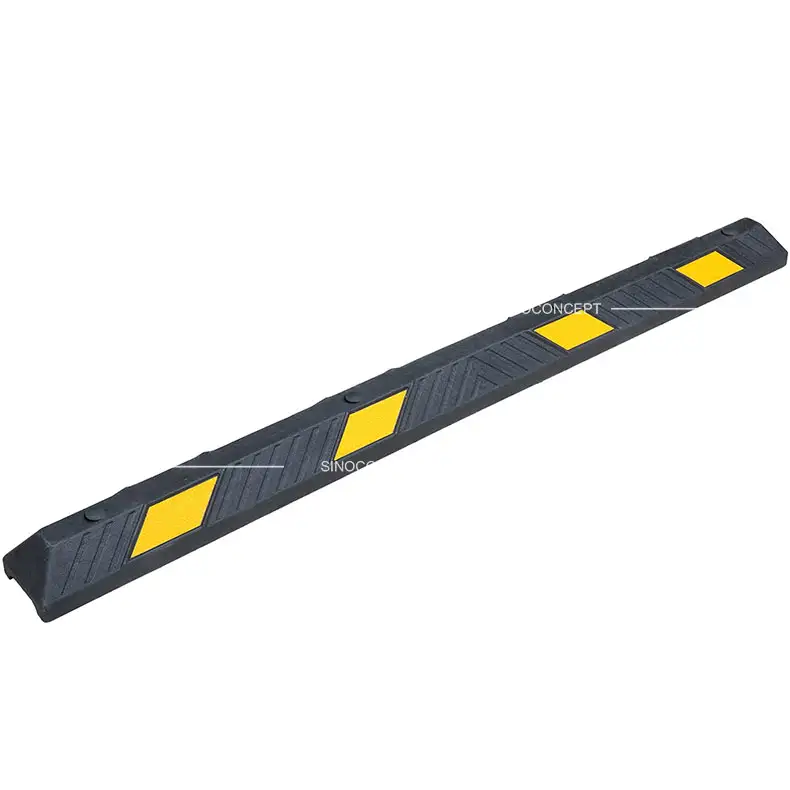
|
Wheel Stop 1830 mm |
Requires one unit to block the wheels. Best for large parking lots or high-traffic areas, offering a wider stopping area. | Provides maximum stopping power for large vehicles. | Large parking lots, high-traffic commercial areas. |
|
HGV Wheel Stops |
Requires two units to block the wheels. Built for HGVs and other heavy vehicles in industrial zones. | Strong, stable base. Resists damage from repeated truck impact. | Logistics centres, truck depots, warehouse loading bays. |
What are Wheel Stops?
Wheel stops, also known as parking blocks or car stops, are fixed devices placed at the end of parking spaces to prevent vehicles from overrunning. They help guide drivers into position and improve parking accuracy.
Commonly used in car parks, warehouses and commercial areas, wheel stops help define parking spaces clearly and reduce the risk of minor collisions.
High-Performance Parking Stops for Commercial Use
Our plastic-rubber composite car stops combine strength and flexibility. They are UV-resistant, weatherproof, and designed to handle repeated impacts from cars, lorries and articulated trucks.
Compared to rubber wheel stops, they are more durable and less likely to deform. Unlike steel wheel stops, they do not damage tyres or vehicles on contact.
Whether permanently installed in private car parks or commercial loading bays, ensure long-lasting durability and effective control to prevent vehicle overrun and protect people, property, and other vehicles.
Durable and Easy-to-Install Wheel Stops for Car Parks & HGV Areas
Sino Concept offers a complete range of car stoppers and parking blocks designed to enhance safety, improve visibility, and guide vehicles across all types of parking bays, from standard spaces to heavy-duty HGV zones.
Each wheel stop is lightweight, equipped with built-in carry handles. They are pre-drilled, with fixings included for easy installation on both concrete and asphalt, even uneven ground is no issue.
High Visibility and Safer Wheel Stops Design
All wheel stoppers include high-contrast reflective films to enhance driver visibility, especially in low-light conditions. These are available in the below colours:
- White: A popular choice in environments where visibility matters.
- Yellow: Yellow is ideal for commercial or private use.
- Blue: Blue is widely used to mark PRM (People with Reduced Mobility) areas.
Looking to improve safety for residential areas or parking bays? Our reflective parking stops are highly visible and built to prevent collisions.
Truck Wheel Stops for HGVs and Parking Areas
Our heavy-duty HGV wheel stops are tailored for warehousing, haulage yards, and other high-traffic environments. Whether for standard vehicles or HGVs, each wheel stop delivers reliable performance and durable wheel control.
Key Features of Our Car Stoppers
- Strong and versatile: Suitable for cars, vans, HGVs, and trailers
- Durable composite construction: Shock-absorbing and impact-resistant
- High visibility: Fitted with reflective films for better guidance in low light
- Ready to install: Supplied with mounting hardware for asphalt and concrete surfaces
- Weatherproof: Resistant to UV and extreme weather conditions
Applications: Where to Use Our Wheel Stopper
Sino Concept’s parking blocks are trusted across all kinds of environments:
- Housing developments and residential streets
- Supermarket and retail parking bays
- EV charging stations and shared-use areas
- Freight depots and HGV loading areas
- Business premises and logistics parks
They help clearly define parking bays, guide wheel alignment, and reduce the risk of structural damage.
Why Choose Sino Concept?
- Factory-direct pricing
- Custom options: body colours, reflective film colours, and logo branding
- REACH-compliant materials made from recycled plastic-rubber composite
- Reliable support and prompt delivery
Looking for More Car Park or Traffic Control Equipment?
In addition to wheel stops, we also supply a wide range of traffic safety products to suit various environments and applications:
- Speed Bumps & Speed Humps: For effective speed control in private and public areas
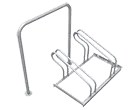
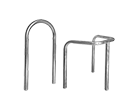
- Cycle Racks & Cycle Stands: Secure and space-efficient bike parking solutions
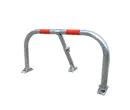
- Lockable Parking Barriers: To protect reserved spaces from unauthorised use
- Lamp Post Protectors: To protect infrastructure from vehicle damage
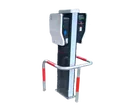
- EV Charger Protection: Designed to protect electric vehicle charging points
All our products are made for professional use, with reliable quality and fast delivery from Sino Concept.
Upgrade Your Facility with Quality Parking Blocks
From residential zones to busy EV charge points or logistic hubs, Sino Concept’s parking blocks and wheel stoppers offer a practical solution to manage parking, protect property, and improve overall site safety.
Contact us today for a quote or a free sample, our team is here to help you find the right car stop for your project.


